Centrifugal Air Compressors: CFM and Efficiency Compared
24th Apr•9 min read
When you're designing a quiet, functional shop (or managing one), moisture isn't just a comfort issue. It's a system failure waiting to happen. Condensation ruins finishes, corrodes tool internals, and cascades into downtime. More subtly, uncontrolled humidity erodes focus and compounds fatigue in long work sessions. Understanding moisture analysis technology comparison and achieving reliable dew point measurement accuracy lets you control the environment rather than react to it.
The question isn't whether you need to measure moisture. It's which measurement method actually gives you actionable data, and how that data shapes your ventilation, enclosure, and isolation strategy. To turn measurements into drier air, compare air dryer technologies so your target dew point is realistic and efficient.
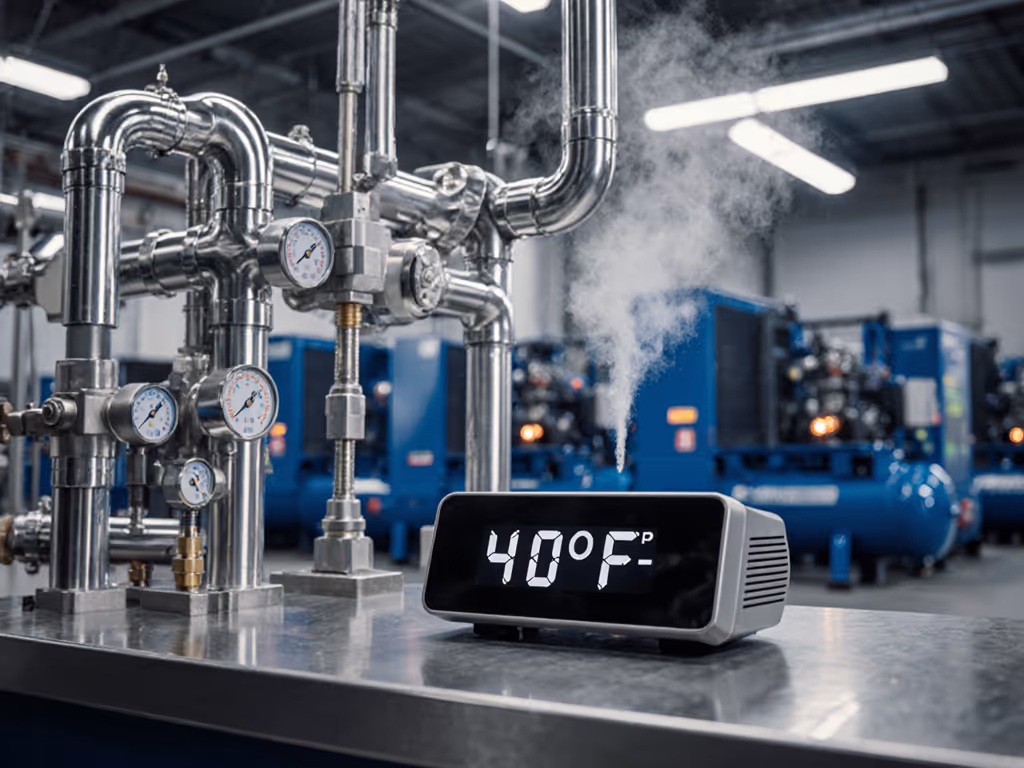
Dew point (the temperature at which air becomes saturated and water condenses) is the North Star of moisture control. A shop running at 72°F and 65% relative humidity has a dew point around 58°F. Any surface colder than that will collect water. In spray booths, compressor discharge lines, and uninsulated tools left overnight, condensation happens fast.
But here's the catch: dew point accuracy matters because a 2°F error compounds into bad decisions. If your sensor reads dew point as 55°F when it's really 58°F, you'll under-size your dryer or misjudge your overnight cooling risk. You'll spend the next morning wiping down equipment and fishing water out of fuel mix.
Real-time moisture monitoring in shops typically targets dew points between -20°F and +40°F, depending on tool type and environment. Paint work and precision tools demand tighter control (dew point below -10°F). Nailing and framing are more forgiving. Knowing where your system actually sits (not where you hope it sits) lets you right-size ventilation, aftercoolers, and desiccant dryers.
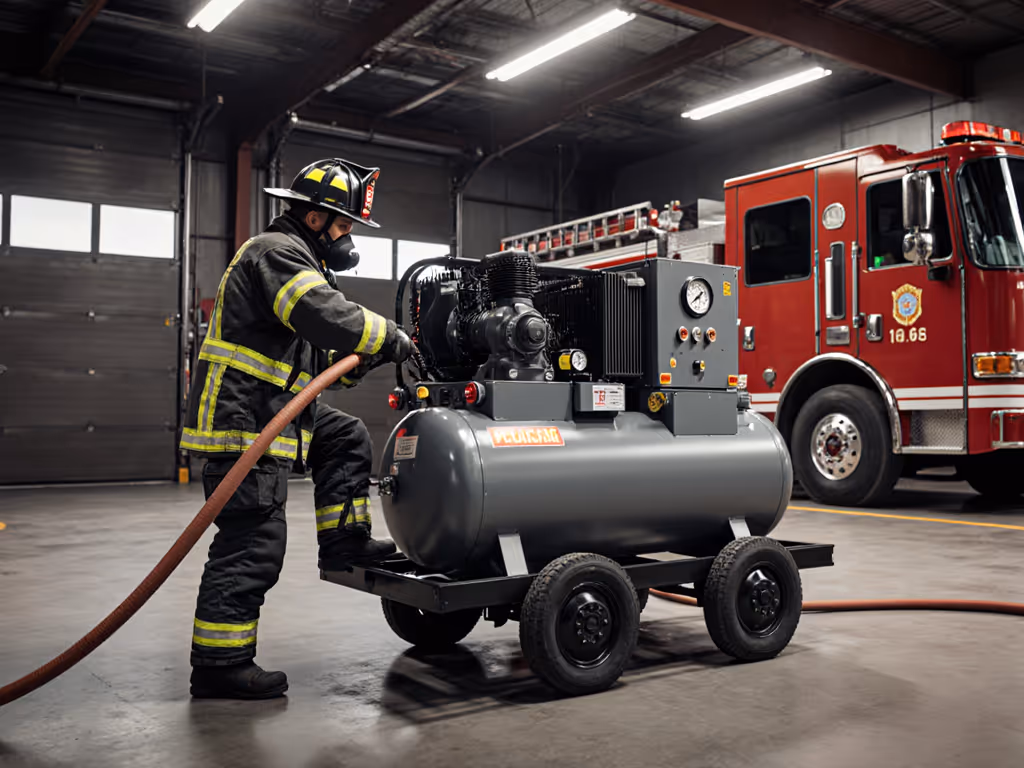
I've watched shops default to "sealed tight and dry." What they often got was static, stale air and hidden condensation in dead zones. A cabinet shop thought noise was just part of the cost of doing business. We relocated their compressor into a ventilated closet, floated it on isolation pads, and ducted a lined intake and exhaust with a check valve. The measured dBA dropped by 12. What surprised them: the dew point in the spray area also stabilized, better air circulation meant better moisture distribution and fewer localized cold spots. Conversations returned to the shop, fatigue fell, and finish rework quietly followed. For layout principles that cut noise and stabilize moisture, see our compressor room design guide.
The lesson wasn't just about sound. It was about sensing your environment properly so you can design for it.
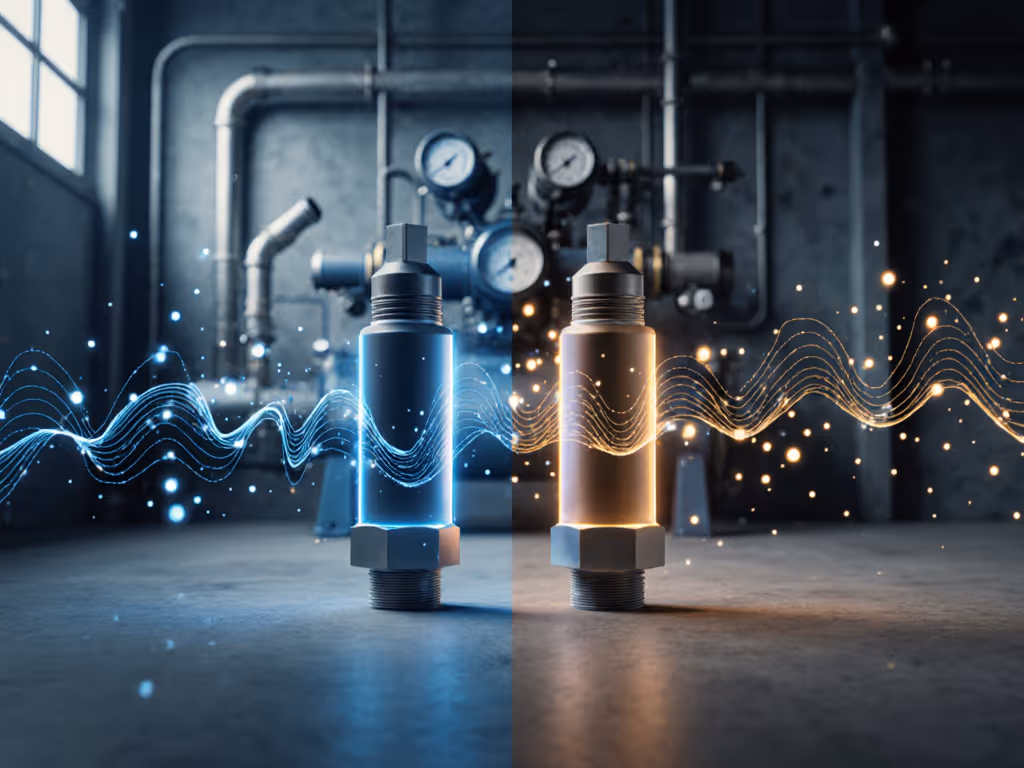
Two sensor families dominate commercial moisture analysis: capacitive and resistive (impedance-based) sensors.
Capacitive sensors measure the permittivity of a polymer or ceramic element as moisture is absorbed. They report dew point by correlating capacitance to saturation. Strengths: fast response (often under 1 minute), good linearity, and low drift over months. Weaknesses: can be sensitive to contaminants (dust, overspray) and may suffer hysteresis (the response differs slightly when humidity is rising vs. falling).
Resistive sensors measure the electrical resistance of a hygroscopic material (often a salt or polymer layer). As moisture changes, resistance shifts, and dew point is inferred. Strengths: robust in dusty environments, good low-end accuracy, and cost-effective. Weaknesses: slower response (2-5 minutes typical), higher long-term drift, and nonlinear response across the range.
In shop air systems (after compressors, filtration, and dryers), capacitive sensors typically outperform. The air is usually cleaner, and the fast response helps catch moisture spikes when tools cycle or ambient humidity jumps. A 60-second lag on a resistive sensor can mask brief high-humidity events that would cause condensation in a spray line.
A-weighted noise levels don't directly depend on moisture sensing hardware, but proper sensor calibration requirements and placement do.
Sensors mounted too close to the compressor discharge or vibrating piping accumulate error. Protect sensors and finishes by improving intake and room filtration with these compressor room air quality strategies. Mind the vibration path, route sensor lines to a stable, temperature-buffered location. A sensor reading -15°F dew point from a warm, vibrating line is unreliable. Route it through 6-12 inches of insulated tubing to a stable surface, and repeatability improves.
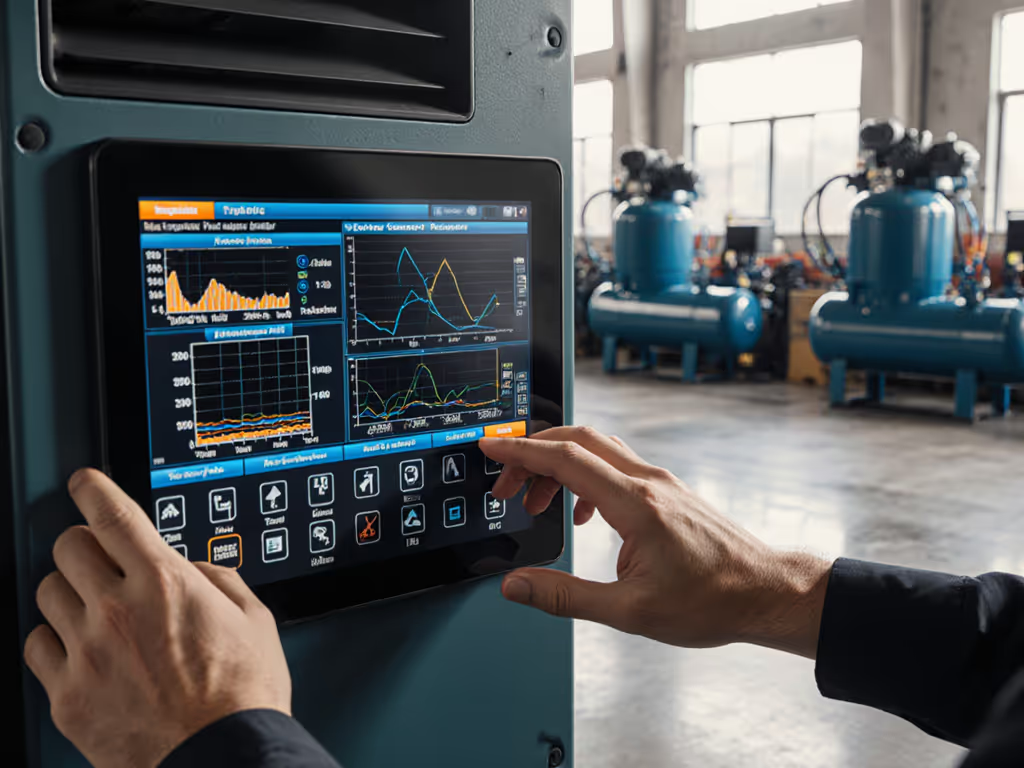
Real-time moisture monitoring logs dew point continuously. Static assessment is a snapshot: you measure once or weekly and extrapolate.
Real-time wins because shop conditions drift. Morning startup is cool and humid. Mid-afternoon with tool load and compressor running is warmer and drier. Evening shutdown risks condensation as temperature falls. A static Tuesday morning reading won't predict Thursday afternoon's spray event.
Most professional shops move toward real-time, especially those with spray work or precision machining. The upfront cost (typically $400-1200 for a standalone logger or integrated controller) pays back quickly in reduced moisture damage and better process tuning. If you're choosing a controller, our smart compressor controls comparison shows which platforms log dew point and automate dryer staging.
For smaller shops or intermittent users, strategic static sampling (morning, midday, and after heavy tool use) works if you log diligently and adjust ventilation/drying seasonally. But it's labor-intensive and easy to skip.
Continuous data streams reveal patterns that static sampling misses. You'll see that your spray booth dew point creeps upward between 2 PM and 4 PM, right when ambient humidity peaks and tool demand is high. That's when you adjust: ramp the dryer flow, or stage a second compressor to feed a parallel line. Without real-time feedback, you're guessing.
If you're starting out, quarterly dew point checks (morning, midday, evening) using a calibrated handheld unit give you seasonal trends. Document everything: date, time, ambient temperature, tool load, dew point reading. After two quarters, patterns emerge. By year two, you'll know whether spring condensation risk is real and whether your dryer is actually working.
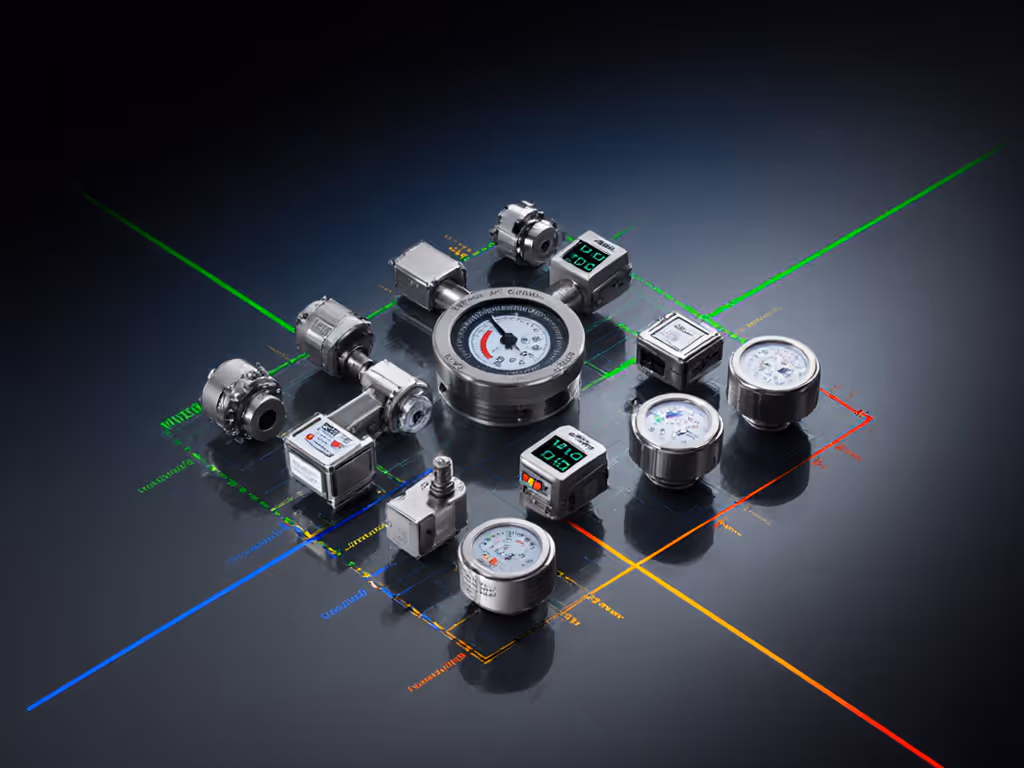
Sensor calibration requirements are the workhorse of reliable dew point measurement. Even precision instruments drift. Capacitive sensors typically hold ±3°F for 12-18 months; resistive sensors degrade faster, ±5°F or worse by month 9 if exposed to temperature extremes or moisture spikes.
Calibration methods: two-point calibration (using salt-solution reference chambers for known humidity levels) is the standard. Many facilities do in-house calibration annually using affordable reference kits (salt-saturated solutions at known temperatures). Professional calibration labs run traceability chains to NIST standards and cost $150-400 per sensor, but documentation is defensible if you're doing compliance work.
The discipline matters more than the method. A sensor that drifts undetected becomes worse than useless, you'll make compounding decisions based on false confidence. I recommend:

Condensation prediction methods exist on a spectrum: empirical (dew point vs. surface temperature), psychrometric chart lookups, and computational models that account for air velocity and surface materials.
The simplest: if surface temperature falls below dew point, condensation happens. The trick is knowing surface temperature. A steel tool stored overnight in an unheated shop can be 10-15°F cooler than ambient air. If ambient dew point is 50°F and the tool surface hits 40°F, you'll have condensation by morning.
More sophisticated models factor in air circulation, wall and floor material (concrete holds cold; sealed timber doesn't), and ventilation path. Some shops install wall-mounted psychrometric display panels alongside real-time dew point loggers. The comparison gives intuition: when you see dew point at 35°F and ambient at 68°F, you know there's a 33°F gap, enough risk that overnight condensation is likely unless heating or ventilation runs.
Prediction accuracy ±5°F is typical for well-tuned environmental models. But again, the gain is in response: if your model predicts dew point will hit 45°F at 6 PM as the shop cools, you can dial up a spot heater, ventilate longer, or park tools in a warmer zone.
Moisture alarm thresholds vary by application and define when you take action:
Set primary alarms 5°F above your process limit and secondary alarms at the limit itself. If your spray booth process needs -15°F dew point, alarm at -10°F (action: ramp up dryer, check filter) and alert at -15°F (action: pause spraying, investigate).
Hysteresis in alarm logic matters. Sensors that oscillate near the threshold will trigger alarms every few seconds, noisy and distracting. Use a ±2°F deadband: alarm triggers at -10°F and doesn't clear until dew point reaches -12°F (or vice versa for rising thresholds). This quiets the signal without losing safety margin.
Quiet isn't luxury; it's throughput and focus you can hear.
That applies to data streams too. Well-tuned alarm logic lets you work without distraction, because you trust the monitoring to alert you only when action is needed.
Moisture analysis technology comparison isn't an exotic choice, it's a foundational part of shop design. Here's what drives reliable systems:
From here, dig deeper into your specific application. Map your shop's seasonal dew point profile: collect morning, midday, and evening readings for a full quarter. Cross-reference those against your tool use and any finish defects or corrosion you've noticed. That data will tell you whether your current dryer and ventilation are adequate, or whether a second stage of drying or better air circulation is needed.
Consider integrating your dew point data with your compressor duty cycle and ambient temperature logging. When you see three variables together (compressor runtime, ambient temp trend, and dew point drift), patterns emerge that no single sensor reveals. That's when sustainable, system-level improvements become obvious rather than guessed.
The outcome: dry air, longer tool life, better finishes, fewer failed projects, and a shop where you can focus on the work instead of fighting moisture and contamination. That's not minor. It's the difference between a space that tolerates your presence and a system that supports your skill.