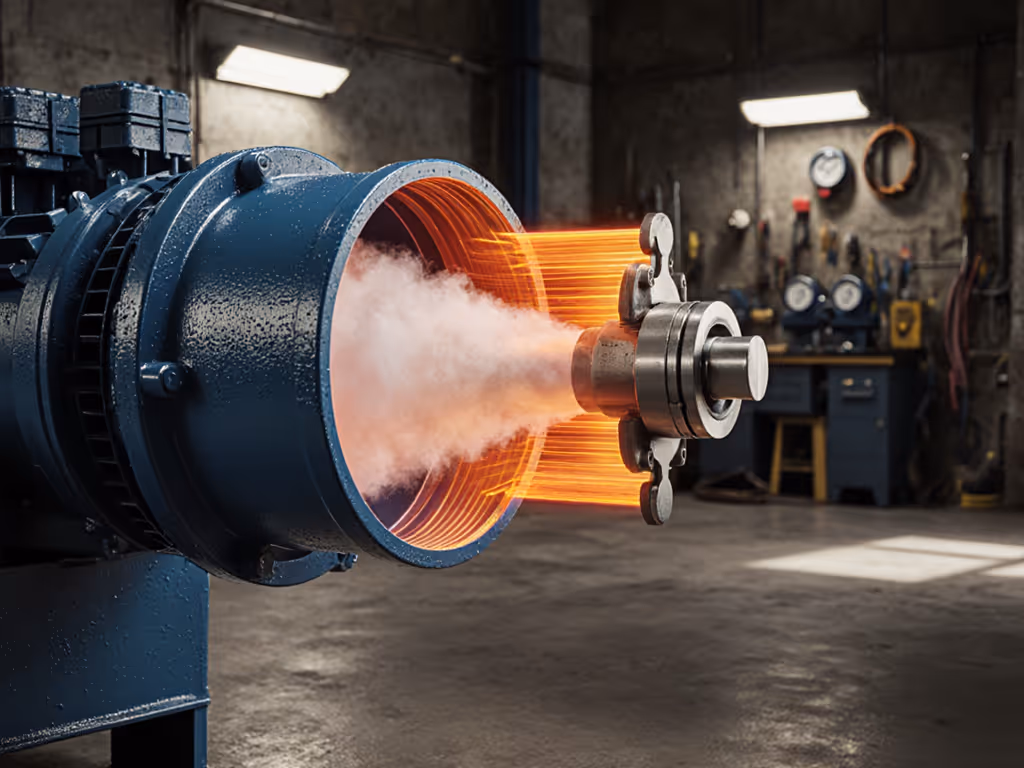
Adiabatic Compression: Temperature and Efficiency Explained
12th Apr•7 min read
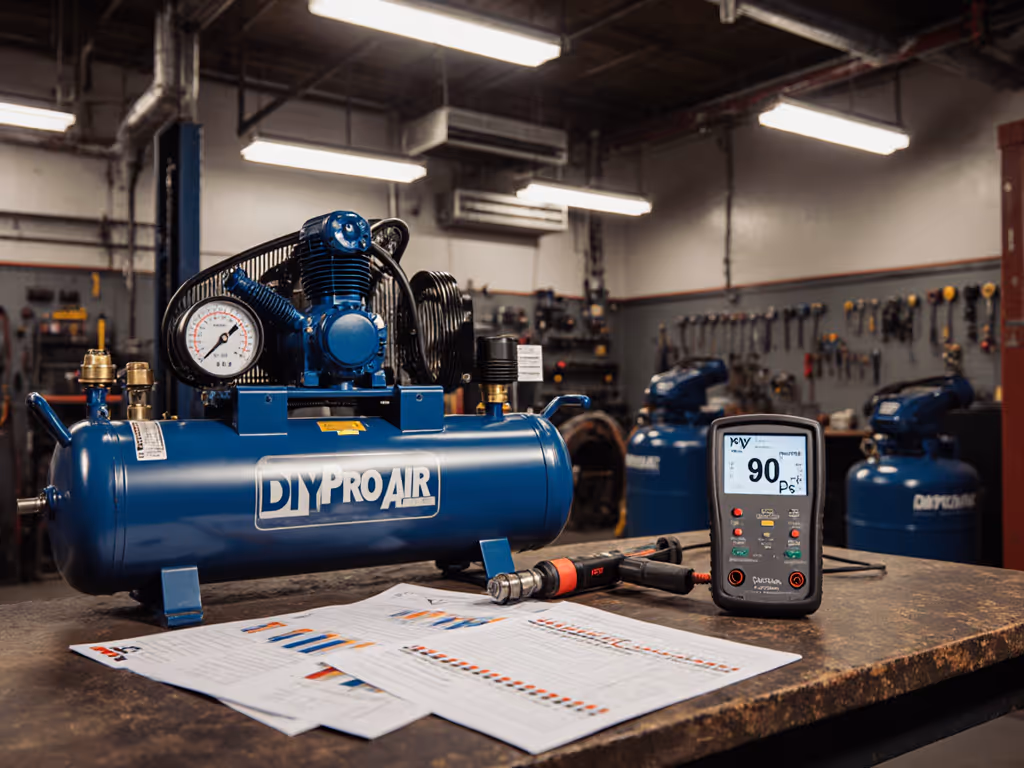
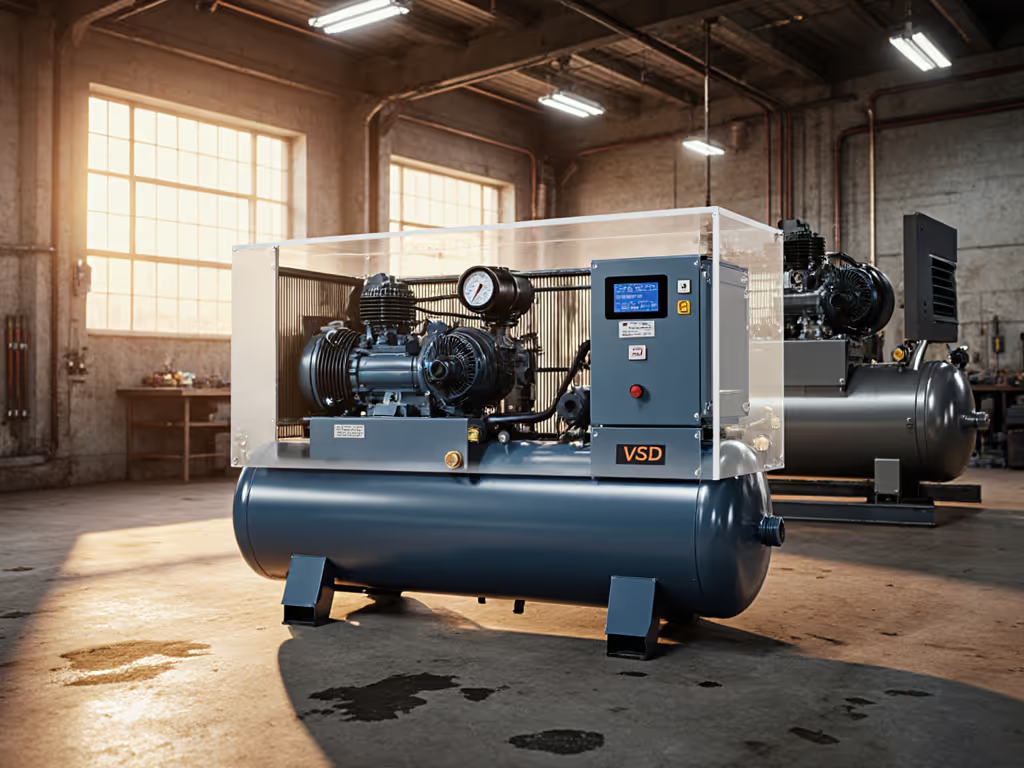
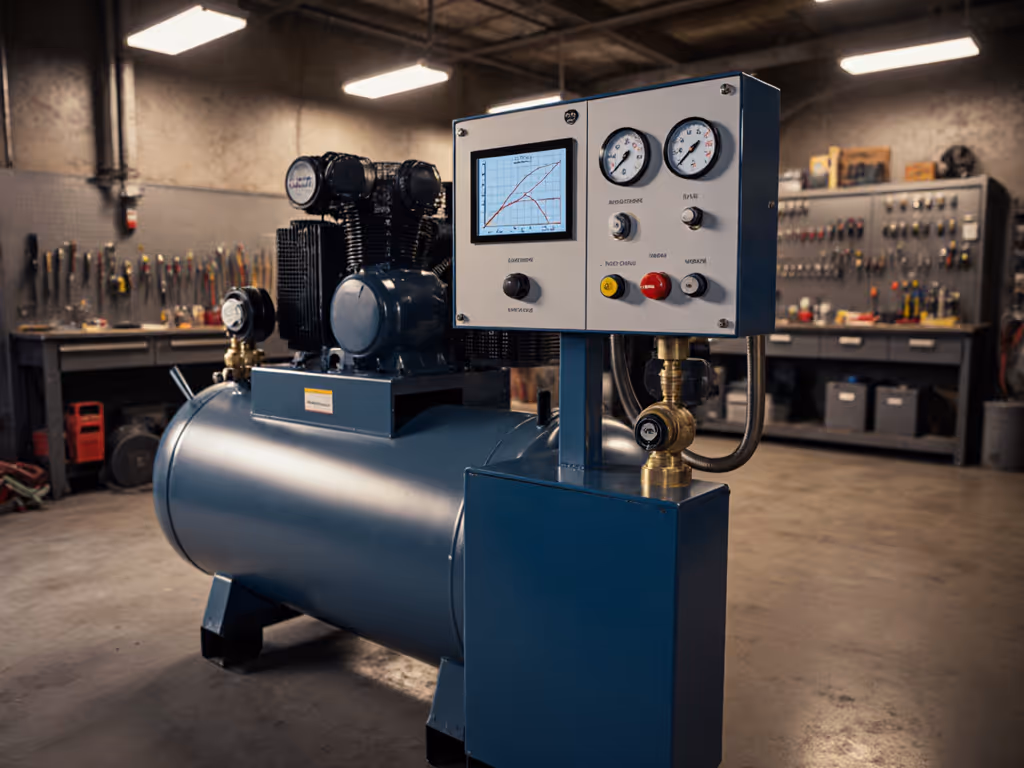
When shopping for air compressor pumps, you'll encounter countless marketing claims about horsepower, tank size, and free air delivery. But if performance isn't proven at working pressure, it doesn't count. This CFM vs PSI guide cuts through the noise by focusing on what matters: measured CFM at 90 PSI with documented test conditions. I run bench tests that map real performance across complete systems (not just compressors) to expose bottlenecks that stall tools mid-job. Whether you're spraying paint or running a DA sander, this data-driven approach reveals why your current setup might be starving for air despite matching "specs."
Marketing specs often tout "SCFM" (Standard Cubic Feet per Minute) measured at 0 PSI (free air delivery with no resistance). Real-world tools operate at specific pressures: 90 PSI for nailers, 40-60 PSI for HVLP spray guns, and 90+ PSI for DA sanders. The relationship between CFM and PSI is non-linear due to physics:
"Show me CFM at 90 PSI, not brochures."
As pressure increases, CFM decreases. A compressor rated for 8 CFM at 40 PSI may deliver only 4.2 CFM at 90 PSI. This is why tool starvation happens despite matching "total CFM" numbers. To verify real-world performance:
A compressor's duty cycle meaning is often misunderstood. It's not just "on time," it's the percentage of total cycle time (run + rest) that maintains consistent pressure at working CFM. A 50% duty cycle at 90 PSI means 30 minutes on / 30 minutes off per hour while delivering the stated CFM. If a unit claims 5 CFM at 90 PSI with 50% duty cycle but can't sustain that flow, you'll face:
Recovery time depends on:
Field test method:
A 20-gallon compressor with 4.5 CFM at 90 PSI takes about 6 minutes to recover from 80 to 120 PSI. If your framing nailer uses 3.5 CFM at 90 PSI, you'll lose 30 seconds of uptime every 90 seconds of operation. This mismatch explains why many pros buy oversized units; they're compensating for inflated specs.
Most tank size calculator tools oversimplify by treating compressors as infinite air sources. Reality check: tanks are buffers, not generators. They smooth pressure spikes but don't increase CFM. A larger tank merely extends runtime between compressor cycles; it won't fix inadequate pump output.
Better approach: Size tanks based on recovery gap. For a DA sander needing 5 CFM at 90 PSI:
Example: For 90 seconds of sanding between cycles: (1 CFM x 90 sec) / 0.56 = 161-gallon buffer. This explains why mobile detailers use 60-gallon tanks with 5 HP compressors (they're compensating for marginal at-pressure CFM).
The HP to CFM conversion rule of "4 CFM per HP" is dangerously misleading. It assumes 100% efficiency at 90 PSI, which no piston compressor achieves. Real-world data:
| HP (Running) | Measured CFM at 90 PSI | Efficiency |
|---|---|---|
| 1.5 HP | 2.8-3.4 CFM | 65-78% |
| 2.0 HP | 3.9-4.6 CFM | 70-82% |
| 3.0 HP | 5.2-6.1 CFM | 68-80% |
Why the variance? Oil-lubricated pumps run cooler (higher duty cycles), but single-stage models lose efficiency above 100 PSI. Always verify CFM at pressure (not free air delivery). A contractor once brought in two "5 CFM" units; one delivered 3.2 CFM at 90 PSI, the other 4.8. The culprit wasn't brand, it was undersized quick-connects and restrictive regulators. We upsized the fittings, uptime jumped, and sanding finally matched spec.
Forget standalone specs; treat your system as interconnected components. A proper air compressor sizing guide must account for:
Start with your highest-demand tool. For an HVLP spray gun needing 12 CFM at 40 PSI (equivalent to ~7 CFM at 90 PSI):
Most airflow restrictions occur downstream of the compressor:
Bottleneck first, brand second. I recently measured a pro's 20 CFM system delivering only 11.7 CFM at the spray gun due to an undersized regulator. Switched to a 1/2" regulator, flow jumped to 15.3 CFM with no compressor changes.
Skip the guesswork with this field test:
If pressure drops below 80 PSI during use, you're either undersized at 90 PSI or have flow restrictions. Calculate actual tool CFM: Tank size (gal) x 0.56 x (Start PSI - End PSI) / Test duration (min).
Your compressor system lives or dies by what it delivers at working pressure, not marketing hype. Prioritize verified CFM at 90 PSI with documented test conditions over tank size or HP claims. Remember that CFM vs PSI isn't theoretical, it's the difference between smooth operation and tool starvation. When sizing, consider the entire system: compressor, tank, plumbing, and regulators. I run every test at 72°F ambient, 120V +/- 2V, with 25' of 1/4" hose unless specified, and report A-weighted dBA at 3 feet. That's how you build a system that runs quietly, reliably, and meets spec every time.
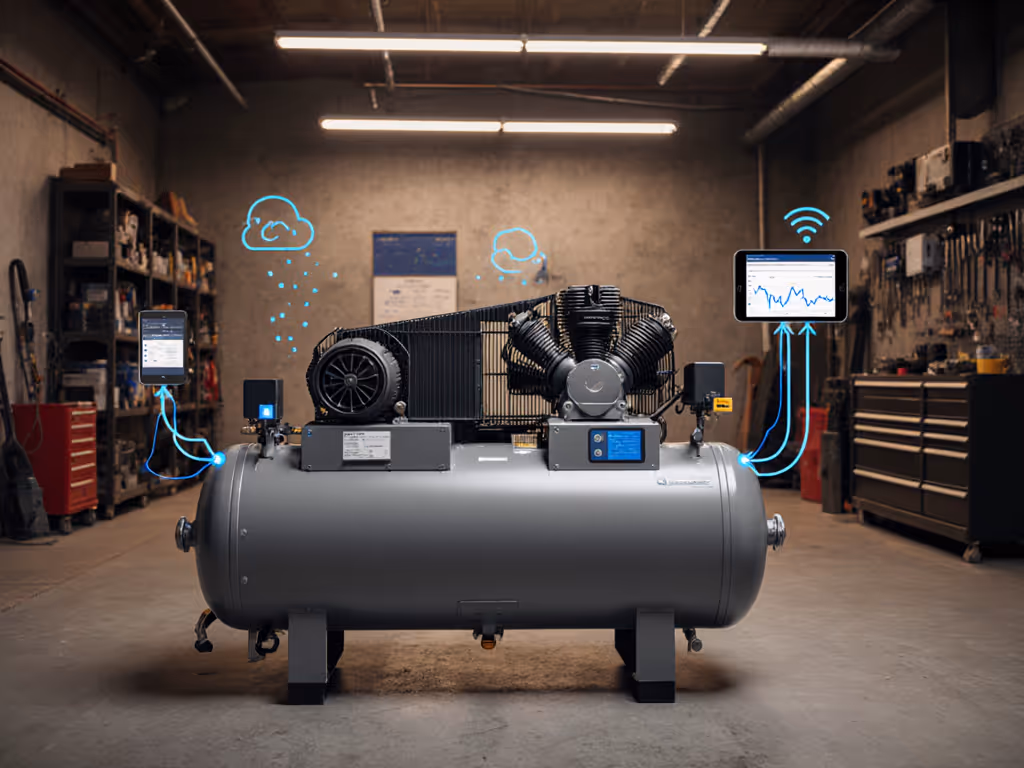
Ready to dig deeper? Check out our compressor test protocol with full methodology for measuring CFM at pressure, duty cycle validation procedures, and system bottleneck diagnostics.